
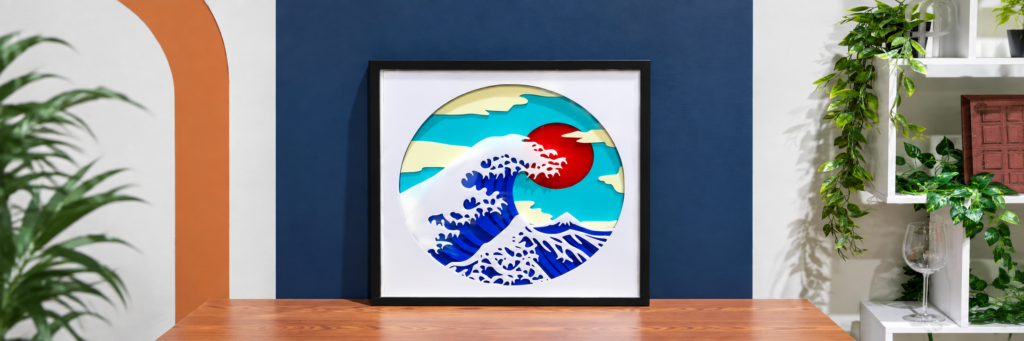
Think of a multi-layer sign as a stack of simple shapes. One sheet may create the background. Another may add a wave, sun, lettering, logo, or other detail. Every sheet contributes one part of the finished picture.
The most important part is keeping the layers organized. Each panel should use the same overall size and position so the pieces line up when they are stacked.
This project uses vector artwork. A vector file is made from lines and curves instead of pixels, which gives the laser a clean path to follow. A DXF file is the most practical choice for laser-cut signs because it keeps the artwork as editable cut lines. SVG and AI files can also work well.
Before processing for cutting, confirm:
- The artwork has six separate panels or layers.
- Each panel is assigned to the correct acrylic color.
- The outside dimensions fit the material.
- Fine details are large enough to cut cleanly.
- The sheets are the same thickness.
- You know the order in which the finished pieces will be stacked.
Test your machine’s speed and power settings on a scrap piece of acrylic before cutting the full design.
Acrylic color, type, thickness, masking, focus, and machine condition can all affect the result.