
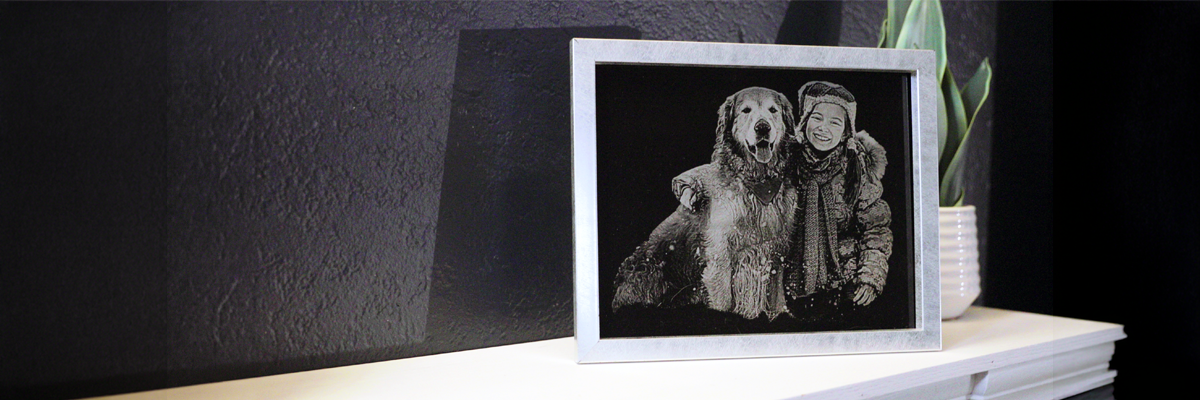
TL;DR: Learn how to laser engrave a photo on painted glass with an AP Lazer 100-Watt CO2 laser. This step-by-step glass engraving guide covers preparing a portrait in Corel PHOTO-PAINT or Adobe Photoshop, saving it as a high-resolution PNG instead of a DXF file, choosing the right LightBurn photo engraving settings, and creating a detailed custom glass portrait. Use the included speed, power, DPI, and dithering settings as a starting point, then test them on your own painted glass for the best results.
Painted glass gives photo engraving a bold, dramatic look. The dark surface makes the lighter engraved areas stand out, while details such as faces, hair, and fur give the finished piece plenty of personality.
This project starts with a favorite photo and an 8 x 10-inch piece of painted glass. First, you will prepare the portrait in either Corel PHOTO-PAINT or Adobe Photoshop. Then you will bring it into LightBurn, preview the engraving, and send it to your AP Lazer.
You only need to follow one photo-editing walkthrough. Choose the program you are most comfortable using, then move on to the LightBurn section.
Feel free to download the file below and follow along with the above step-by-step video while working your way through this blog.